Linux MCU
Your single-board computer (SBC) can be used as a secondary MCU in Klipper. This allows you to use the GPIOs and buses (I2C, SPI) of your SBC directly in your Klipper configuration — for example, to control additional fans, LEDs, or to read sensors without needing extra hardware.
Install the Systemd Service
The klipper-mcu service must start before Klipper itself. To install and enable it, run:
cd ~/klipper/
sudo cp ./scripts/klipper-mcu.service /etc/systemd/system/
sudo systemctl enable klipper-mcu.service
Build the Micro-Controller Code
Start by configuring the firmware for the Linux process. Run:
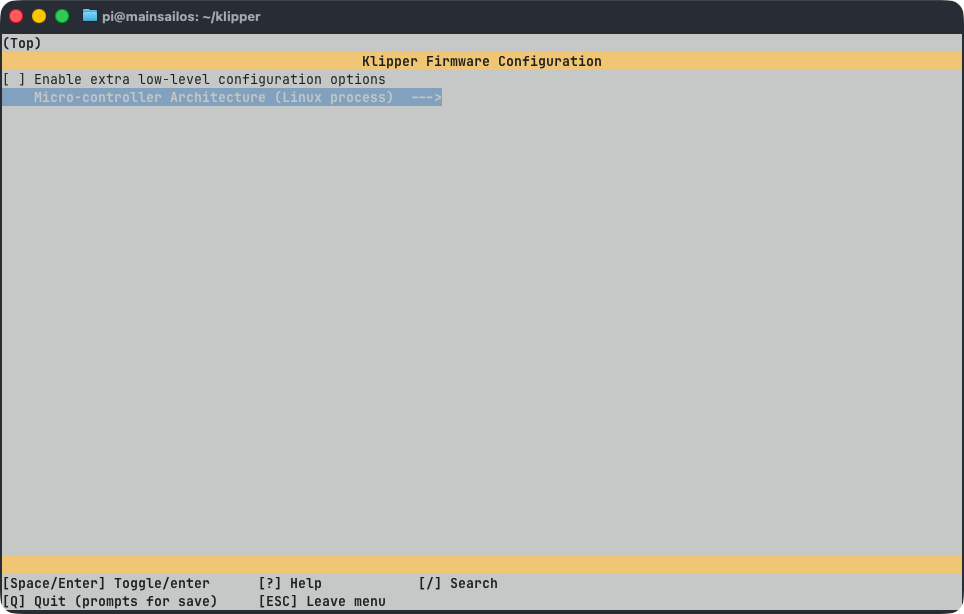
In the menu, set Microcontroller Architecture to Linux process, then press Q to exit and Y to save the
configuration.
Flash the Micro-Controller
To build and install the firmware, run:
Permission Denied Error
If klippy.log reports a "Permission denied" error when connecting to /tmp/klipper_host_mcu, add your user to
the tty group:
Configure the MCU in printer.cfg
Add the following section to your printer.cfg to enable your SBC as a secondary MCU:
After saving, restart Klipper. You can now reference the host MCU pins in your configuration using the host: prefix,
for example:
[output_pin caselight]
pin: host:gpio20
# You can also write the pin in extended form by specifying
# the reference gpiochip.
#pin: host:gpiochip0/gpio20
[temperature_sensor enclosure_temp]
sensor_type: HTU21D
i2c_mcu: host
i2c_bus: i2c.1
htu21d_hold_master: False
Further Information
For more details and optional features like enabling SPI, I2C, identifying the correct gpiochip, or using hardware PWM, refer to the official Klipper documentation: