Linux RPi MCU
Your single-board computer (SBC), such as a Raspberry Pi, can be used as a secondary MCU in Klipper. This allows you to use the GPIOs and buses (I2C, SPI) of your SBC directly in your Klipper configuration. For example to control additional fans, LEDs, or to read sensors without needing extra hardware.
Install the Systemd Service
The klipper-mcu service must start before Klipper itself. To install and enable it, run:
cd ~/klipper/
sudo cp ./scripts/klipper-mcu.service /etc/systemd/system/
sudo systemctl enable klipper-mcu.service
Build the Micro-Controller Code
Start by configuring the firmware for the Linux process. Run:
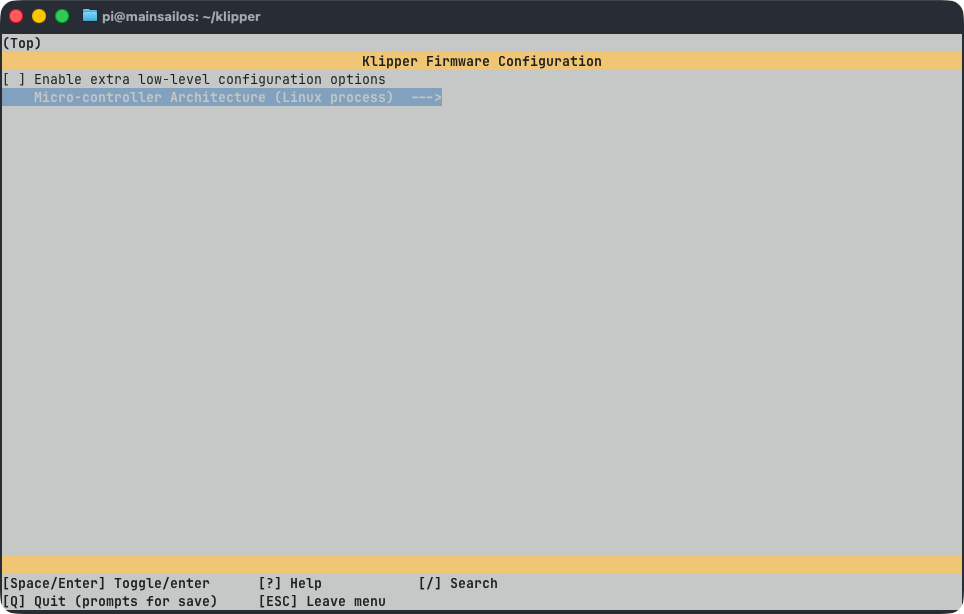
In the menu, set Microcontroller Architecture to Linux process, then press Q to exit and press Y to save the
configuration.
Flash the Micro-Controller
To build and install the firmware, run:
Permission Denied Error
If klippy.log reports a "Permission denied" error when connecting to /tmp/klipper_host_mcu, add your user to
the tty group:
Configure the MCU in printer.cfg
Add the following section to your printer.cfg to enable your SBC as a secondary MCU:
After saving, restart Klipper. You can now reference the host MCU pins in your configuration using the host: prefix,
for example:
[output_pin caselight]
pin: host:gpio20
# You can also write the pin in extended form by specifying
# the reference gpiochip.
#pin: host:gpiochip0/gpio20
[temperature_sensor enclosure_temp]
sensor_type: HTU21D
i2c_mcu: host
i2c_bus: i2c.1
htu21d_hold_master: False
Further Information
For more details and optional features like enabling SPI, I2C, identifying the correct gpiochip, or using hardware PWM, refer to the official Klipper documentation: