Console Settings
Open the Interface Settings by clicking the cogs icon in the top-right corner, then navigate to Console.
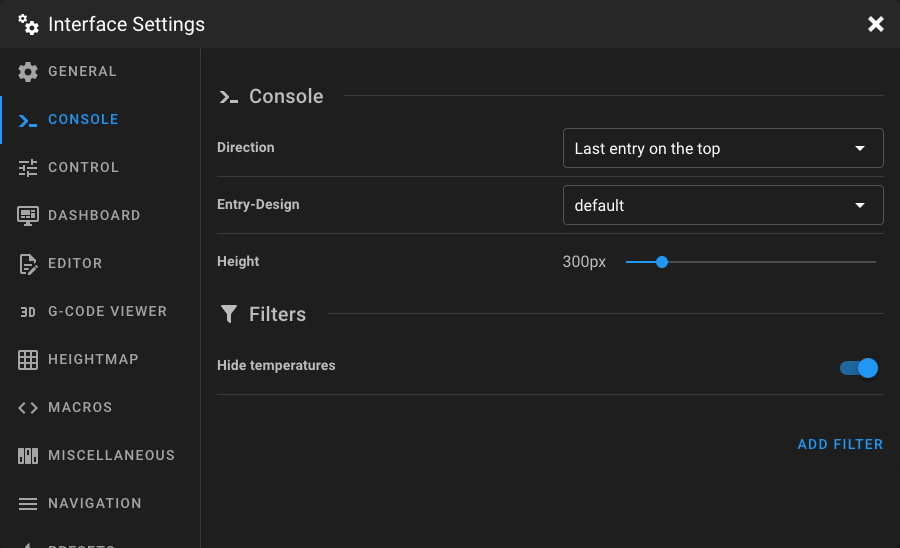
Direction
Change the direction of the console output. This also affects whether the input field is located at the top or at the bottom of the console panel.
| Option | Description |
|---|---|
| Last entry on the top (default) | New messages appear at the top, input field is at the bottom. |
| Last entry at the bottom | New messages appear at the bottom, input field is at the top (shell-style). |
Entry-Design
Switch the appearance of console entries.
| Option | Description |
|---|---|
| default (default) | Standard entry style with separators and normal line spacing. |
| compact | Reduced line spacing and no separators between entries. |
Height
Specify the height of the console panel on the Dashboard in pixels, so that it fits better into your Dashboard layout. The value can be set between 200 px and 900 px using the slider.
Filters
Console filters let you suppress specific entries from appearing in the console output. Filters can be enabled and disabled in the settings or directly in the console panel via the funnel icon.
Hide Temperatures
When enabled, all temperature status messages (typically from M105 responses) are filtered from the console output.
This helps keep the console clean and focused on relevant messages.
Hide Timelapse
This option is only available when the Timelapse component is installed in Moonraker. When enabled, it filters timelapse-related G-Code messages from the console.
Custom Filters
You can define your own filters using regular expressions to suppress specific console messages.
Click Add Filter to create a new custom filter. Each filter requires:
| Field | Description |
|---|---|
| Name | A descriptive name for the filter. Must be unique across all filters. |
| Regex | A regular expression pattern that matches the console messages you want to hide. |
Custom filters can be toggled on or off, edited, or deleted at any time.